This article shows how to set up Tomcat in Windows for learning & development. There are various ways to configure Tomcat in the local machine. We will show 3 different ways:
- Method 1 – Windows Service Installer
- Method 2 – Zip
- Method 3 – XAMPP
Method 1 – Windows Service Installer
Step 1:
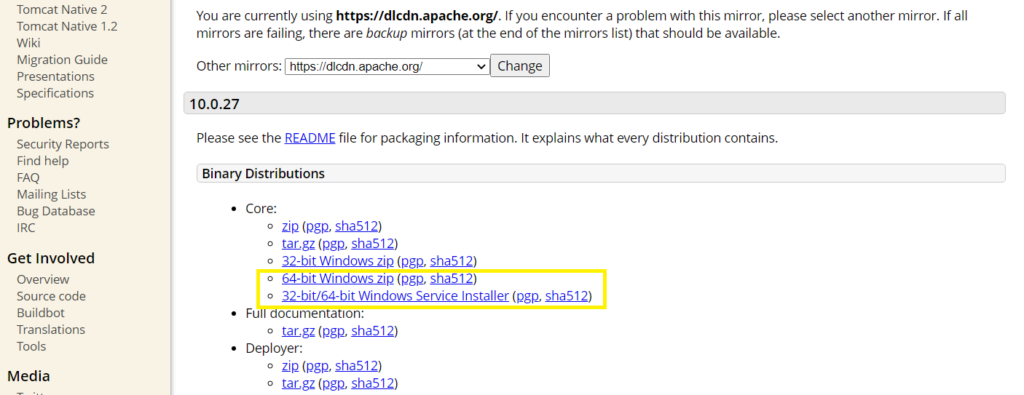
Go to Apache Tomcat download page and download “32-bit/64-bit Windows Service Installer”.
Step 2:
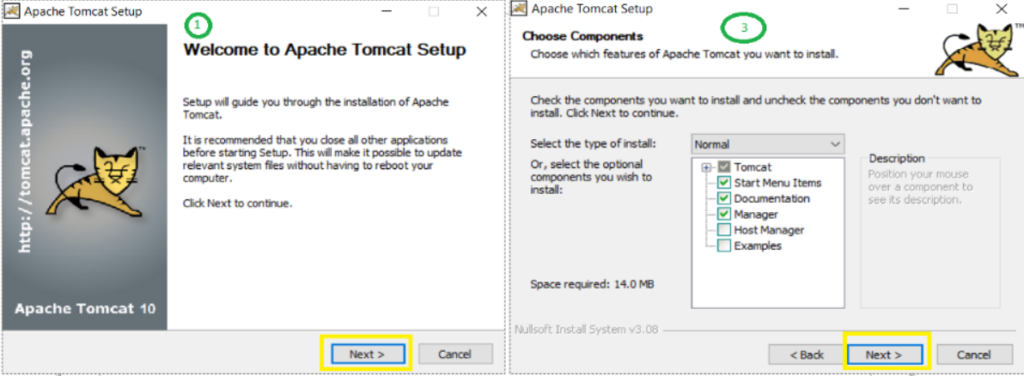
Launch the installer and follow the installation wizard.
Step 3:
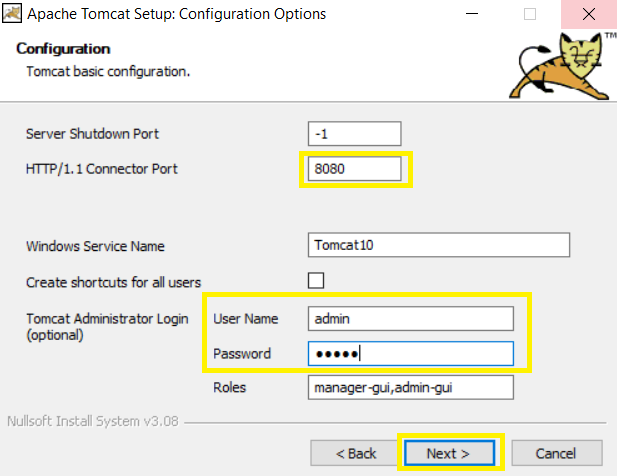
The next section is important. You can accept the default port (8080) or you can enter the port of your choice, but it has to be between 1024 and 65535. For “Tomcat Administrator Login”, you leave these empty. This is required if you use Tomcat “manager-gui” or “admin-gui” and click “Next” to proceed.
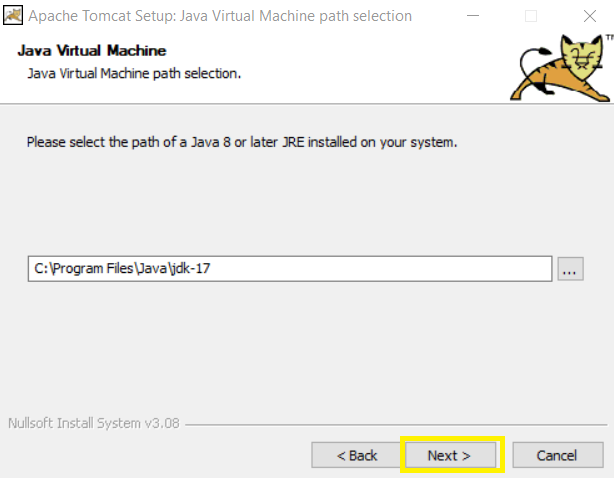
Step 4:
Select the location if “JRE” or “JDK”. Tomcat tries to automatically pick up the location if you setup the java path. Click “Next” to proceed.
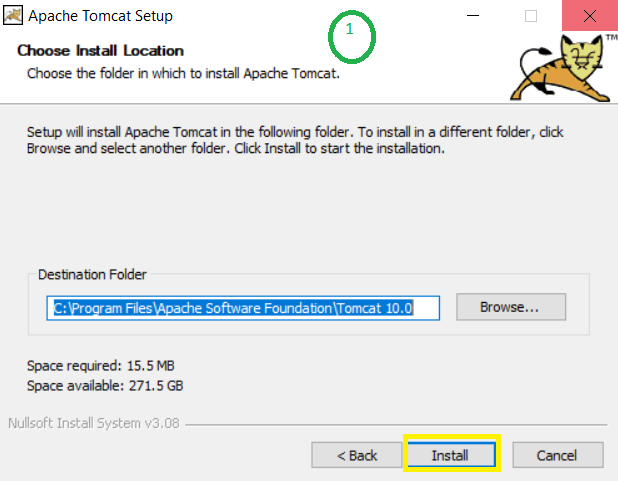
Step 5:
Select location where Tomcat will be installed. Click Install to proceed.
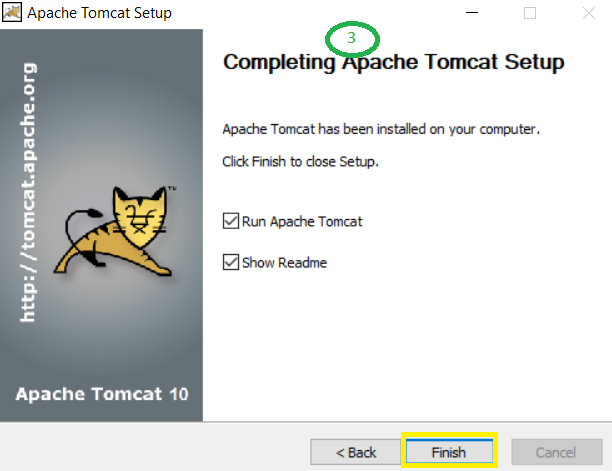
Step 6:
Once installation is comlete, check “Run Apache Tomcat” to start the server and click “Finish” to complete the installation process.
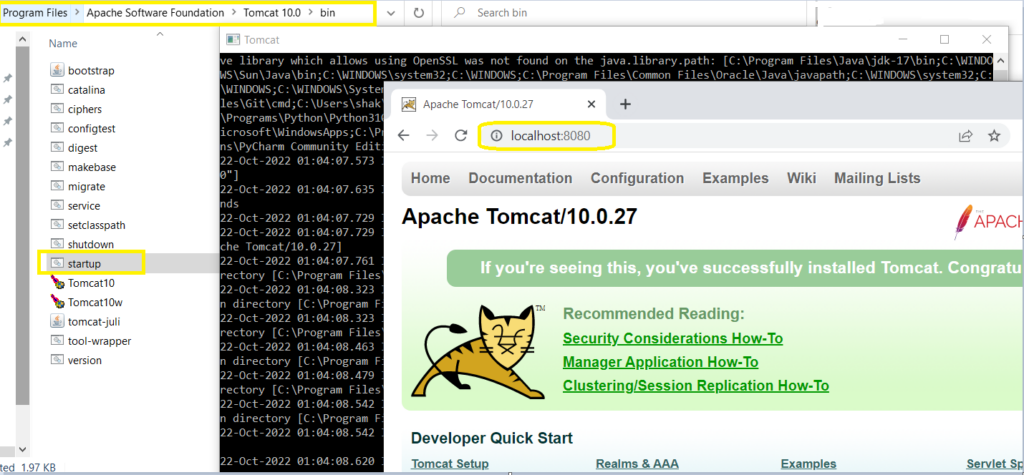
Step 7:
If you like to start the server manually, go to the Tomcat installation folder. In the deme, we used “C:\Program Files\Apache Software Foundation\Tomcat 10.0“. Go to “bin” folder and double click “startup.bat”. It will launch Tomcat server. Open browser and type “http://localhost:” and “port” (i.e. http://localhost:8080). The port 8080 is selected because we used it during the installation process.
Method 2 – Tomcat Zip file (No Installation)
Step 1:
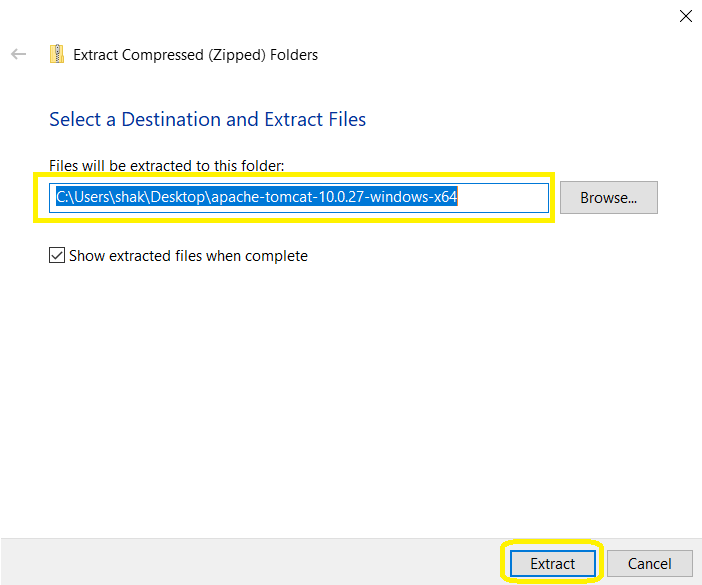
Go to Apache Tomcat download page and download “64-bit Windows zip” (Step 1 in Method 1). Extract the files (right click on the zip file and extract all). You can choose the default location or location of your choice where you can easily find the folder.
Step 2:
Make sure “JAVA_HOME” variable is setup in the path. You can do this by first adding a new “JAVA_HOME” variable pointing to java installation directory and adding “JAVA_HOME” to the path variable.
Step 3:
– Go to the “bin” sub directory and click on the startup.bat file. It will start up the tomcat at the default port 8080
– Open browser and type “http://localhost:8080“. You will see tomcat homepage running on your local machine.
Step 4 (Optional): Changing different port
– Go to the tomcat “conf” sub directory and open “server.xml“
– Change the port to any port between 1024 and 65535
<Connector port="8080" protocol="HTTP/1.1"
           connectionTimeout="20000"
           redirectPort="8443" />
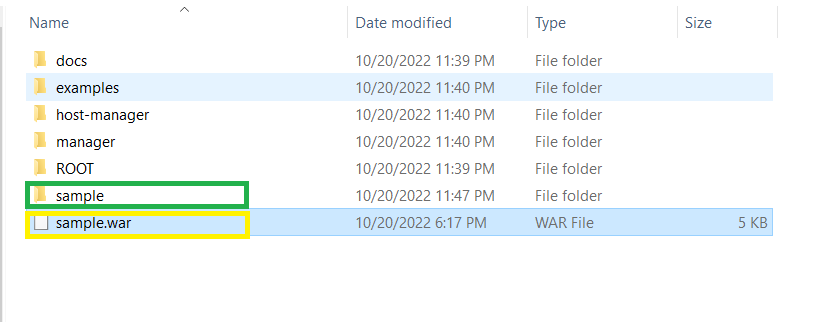
Deploying a Sample WAR File
- Download a sample application from the Tomcat official site (tomcat.apache.org)
- To view the content of the sample app: jar -xvf sample.war
- Move the sample.war file to /tomcat/webapps directory. Tomcat recognizes the new app and starts extracting.
- The app is visible at http://localhost:8080/sample